
Gear Lists
Gear Lists are reusable recommendation references — your unit’s answer to “what should I bring?” Each list captures the personal gear a Scout should pack and the shared crew gear someone in the patrol should carry, with quantities, weights, and a suggested brand where it helps. Once you build a list, you and your families can open it any time a trip needs the same kit.
You will find them under Gear Lists in the Operations section of the left navigation, at /gear/lists. Every member of your unit can view gear lists; creating and editing your own lists takes equipment-management permission (more on that below).
What you will see
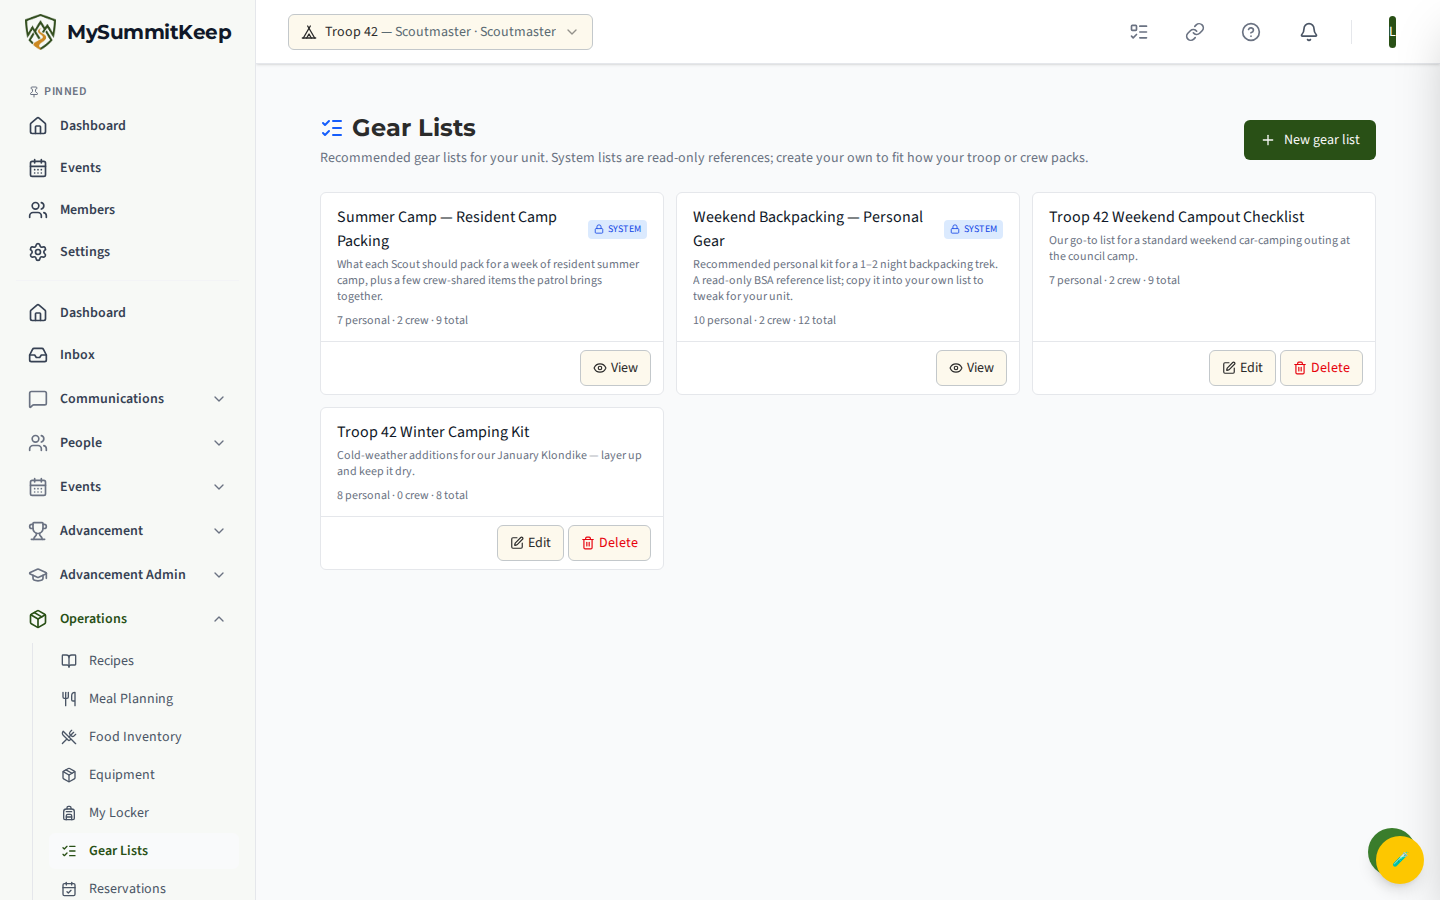
Section titled “What you will see”The Gear Lists page shows one card per list. Two kinds appear together:
- System lists — built-in BSA-Corporate references shared across all units. They carry a System badge with a lock icon and are read-only. You can open them to view, but not edit or delete them.
- Your unit’s lists — lists your unit created. These show Edit and Delete buttons so you can tailor them to how your troop, pack, or crew actually packs.
Each card shows the list name, an optional description, and a quick item tally: how many personal items, how many crew items, and the total.
If your unit has not built any lists yet and no system lists are showing, you will see a “No gear lists yet.” card prompting you to create your first one.
Creating a gear list
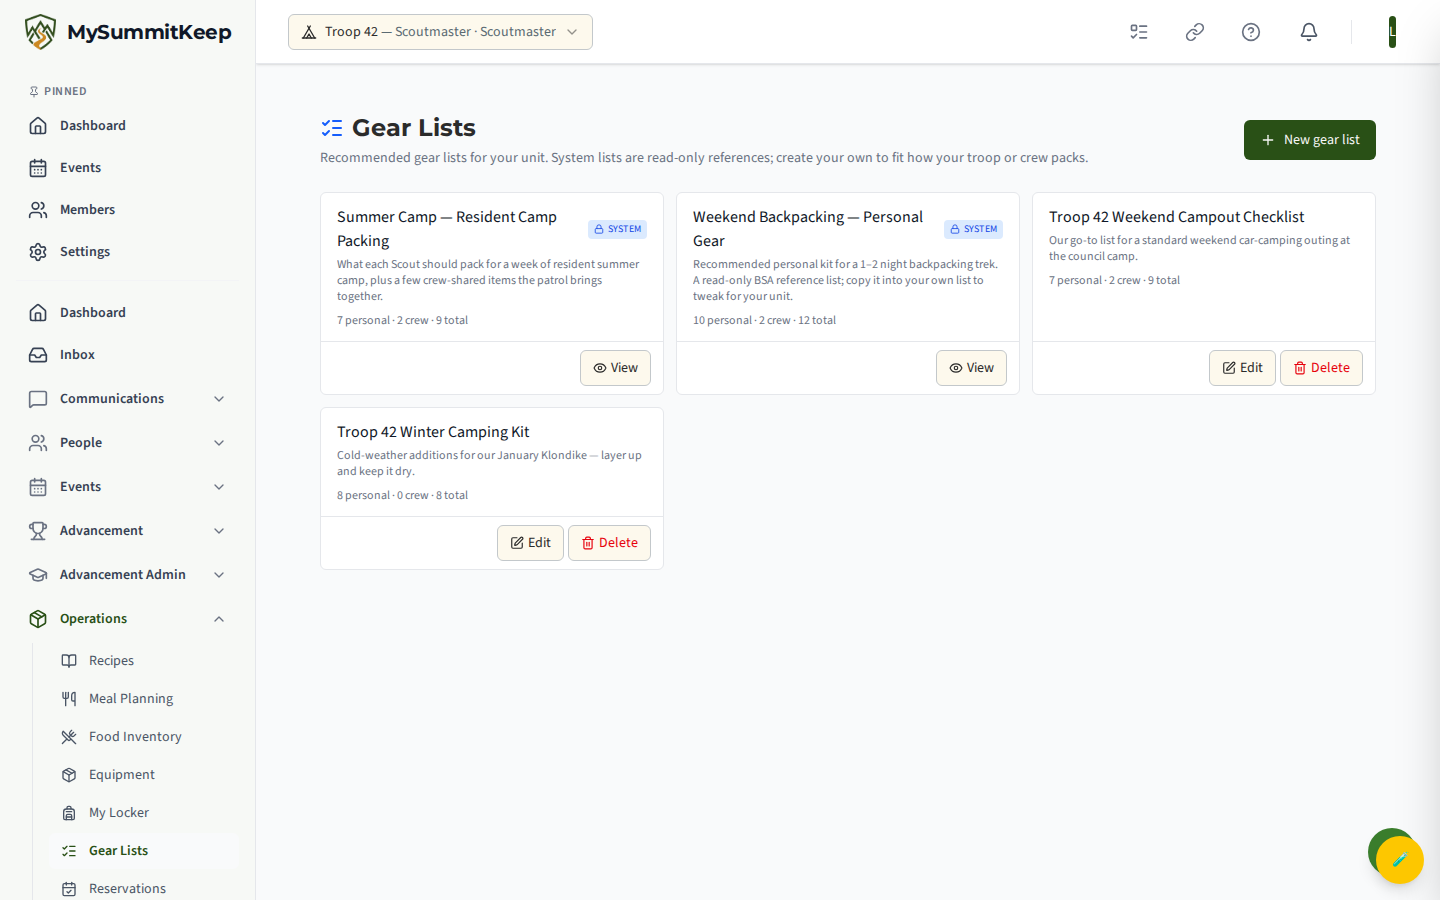
Section titled “Creating a gear list”Click New gear list (top right) to open the editor at /gear/lists/new. Creating a list happens in two stages — first the list itself, then its items.
- Name (required) — give it a clear, reusable name. A pattern like “Activity — Conditions” works well, for example “Weekend Campout — Cold Weather” or “Backpacking Trek — Summer”.
- Description (optional) — what activity the list is for and any prep notes.
- Sharing — start in Draft (unit-private). Draft and Submitted for review lists stay private to your unit. Approved lists become visible across units, and approval is set by corporate moderators — not from this screen — so leave new lists on Draft unless you intend to submit one for review.
Click Create. The list is saved and you are taken straight into edit mode, where the Items pane appears so you can start adding gear.
Adding items
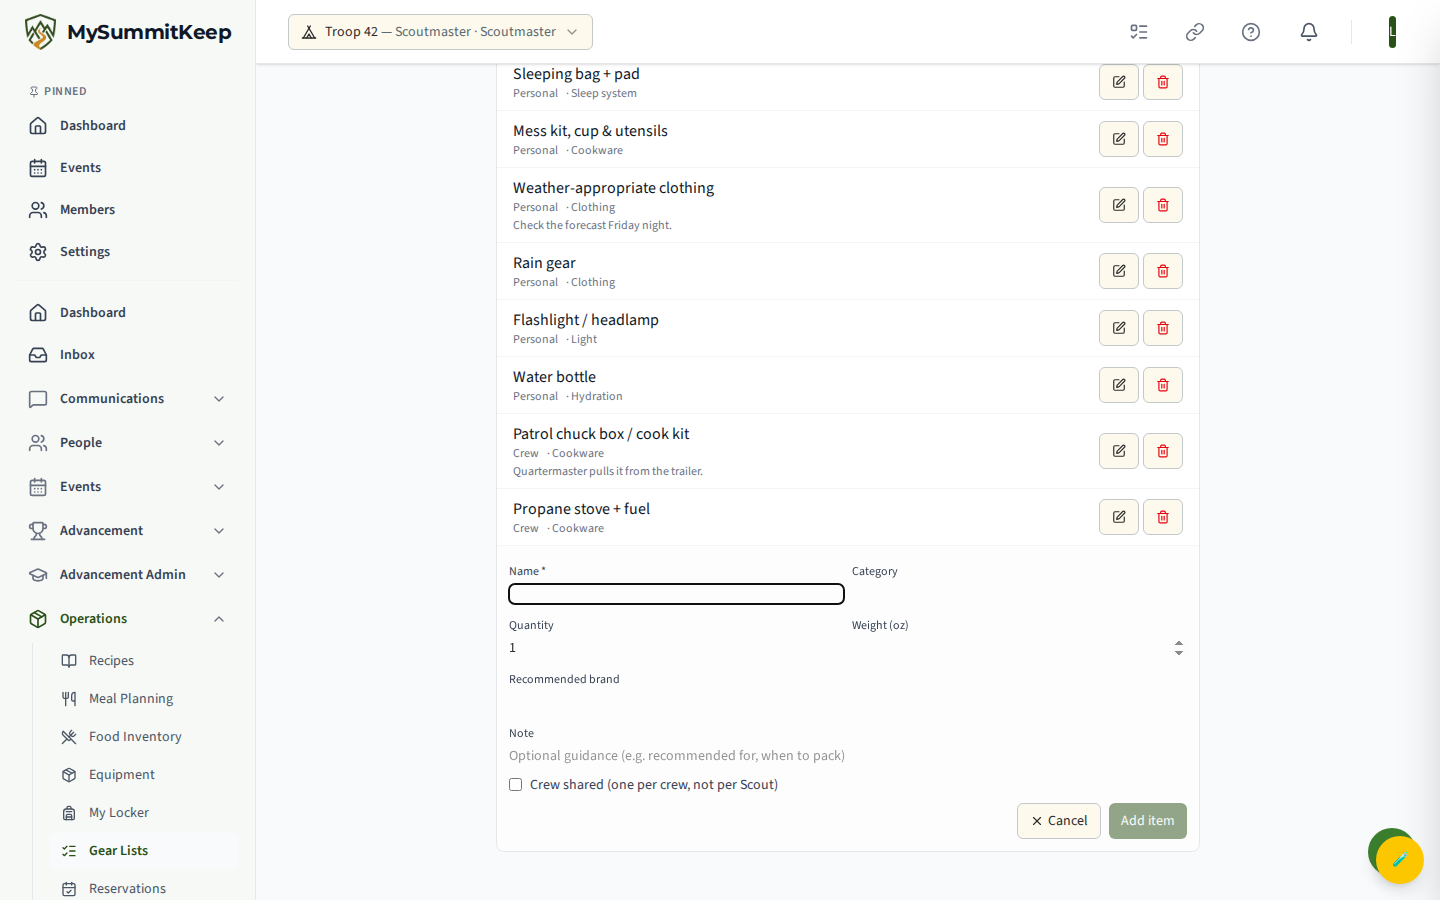
Section titled “Adding items”In the Items pane, click Add item and fill in:
- Name (required) — for example “Sleeping bag” or “Mess kit”.
- Category (optional) — a free-text grouping like Sleep, Cook, Pack, or Clothing. Categories help families scan a long list.
- Quantity — defaults to 1; bump it for items like “pairs of socks”.
- Weight (oz) (optional) — handy for backpacking and high-adventure trips where pack weight matters.
- Recommended brand (optional) — a suggested make or model when you have a favorite.
- Crew shared checkbox — leave it unchecked for personal gear every Scout brings. Check it for crew gear where one per crew is enough, not one per Scout (a stove, a water filter, a patrol tent).
Items appear in the list with a Personal or Crew tag, plus quantity, weight, and brand where you filled them in. Use the pencil to edit an item or the trash icon to remove one. Changes save immediately.
Editing, viewing, and deleting
Section titled “Editing, viewing, and deleting”- Edit opens one of your unit’s lists so you can change its name, description, sharing state, and items.
- View opens a system list in read-only mode — every field and action is disabled. To customize a system list for your unit, build your own with the same items.
- Delete removes one of your unit’s lists after a confirmation dialog. Deleting a list does not erase gear in members’ lockers — locker items that referenced the list keep their data but simply lose the template link.
Who can do what
Section titled “Who can do what”The page is readable by everyone in your unit. Creating, editing, deleting lists, and adding or removing items all require the Equipment.Update permission, which is part of the equipment-management permission set leaders carry. This rule is enforced by the server: the create, edit, delete, and item endpoints all reject callers who lack the permission. The page itself shows the New gear list, Edit, and Delete buttons to every unit member — what the UI hides is the edit and delete controls on system lists, which are read-only for everyone. So a member without Equipment.Update can still click through, but the action fails server-side rather than being hidden up front.
| Action | Permission needed |
|---|---|
| View any gear list (system or unit) | Any unit member |
| Create a new unit list | Equipment.Update |
| Edit a unit list (name, sharing, items) | Equipment.Update |
| Add / edit / delete items | Equipment.Update |
| Delete a unit list | Equipment.Update |
| Edit or delete a system list | Not permitted — read-only |