
Transferring Members Between Units
When a Scout or adult moves from one unit to another — a family relocates, a Scout ages into a sibling’s troop, an adult joins a second unit — you do not have to delete them from one roster and re-enter them in the other. MySummitKeep has a two-party transfer workflow: one unit initiates the move, the leaving unit confirms the departure, and the receiving unit confirms the arrival. The member’s history travels with them.
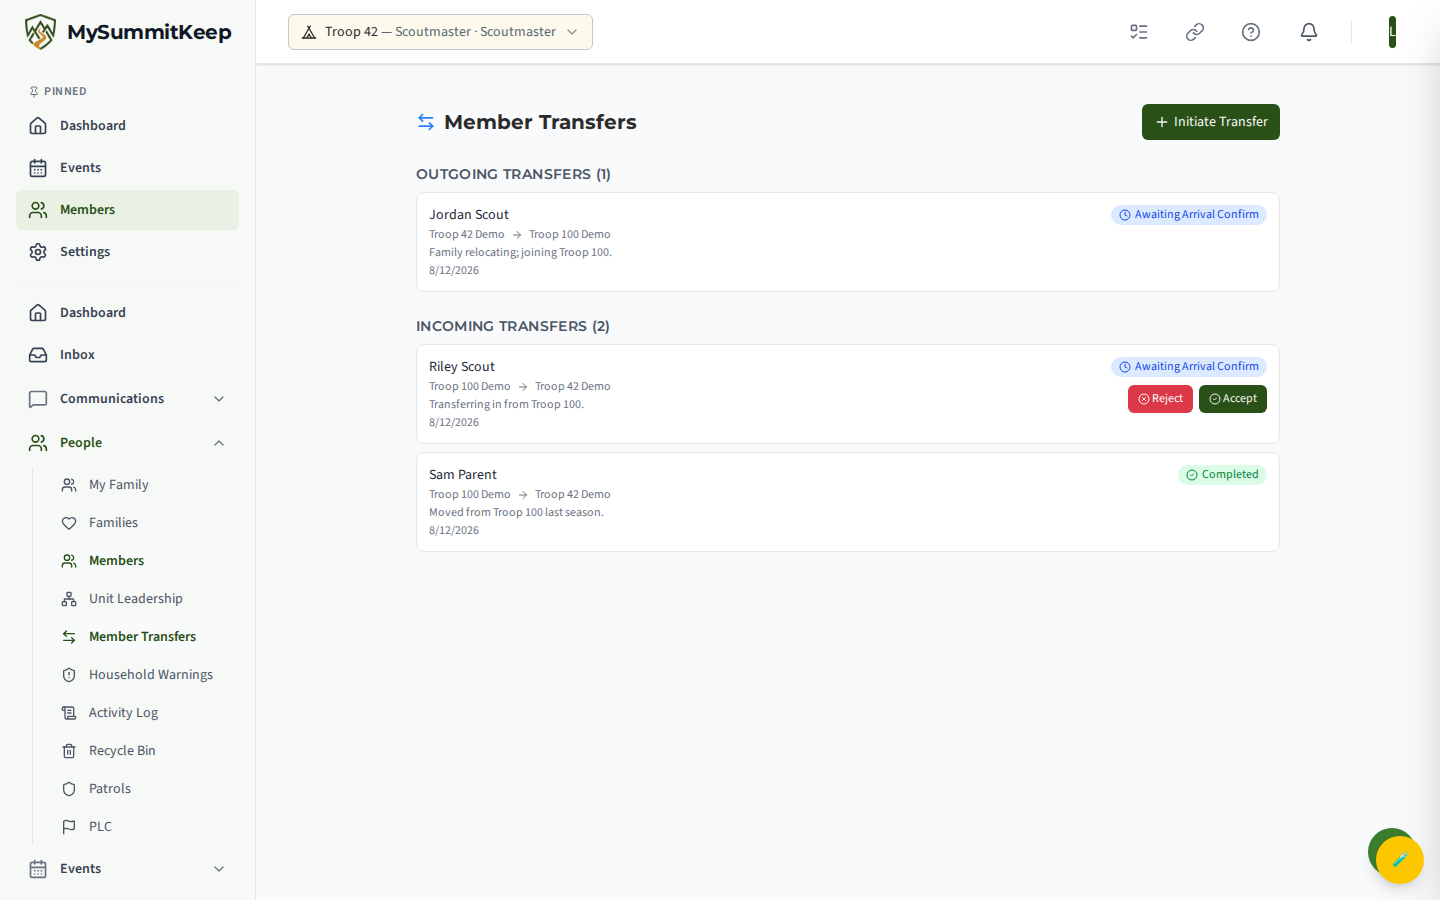
You manage all of this from Members → Transfers (the Member Transfers page).
When to transfer vs. re-invite
Section titled “When to transfer vs. re-invite”Use a transfer when the person already exists in a MySummitKeep unit and is moving to another unit on the platform. The transfer keeps their member record intact, so their global credentials follow them automatically — training records, health forms, BSA registration, emergency contacts, and merit-badge progress.
Use an invite instead when:
- The person is brand new to MySummitKeep, or
- They are joining a unit that is not yet on the platform.
In those cases, see Member Import for adding people in bulk, or invite them individually from your roster.
Initiating a transfer (the transfer wizard)
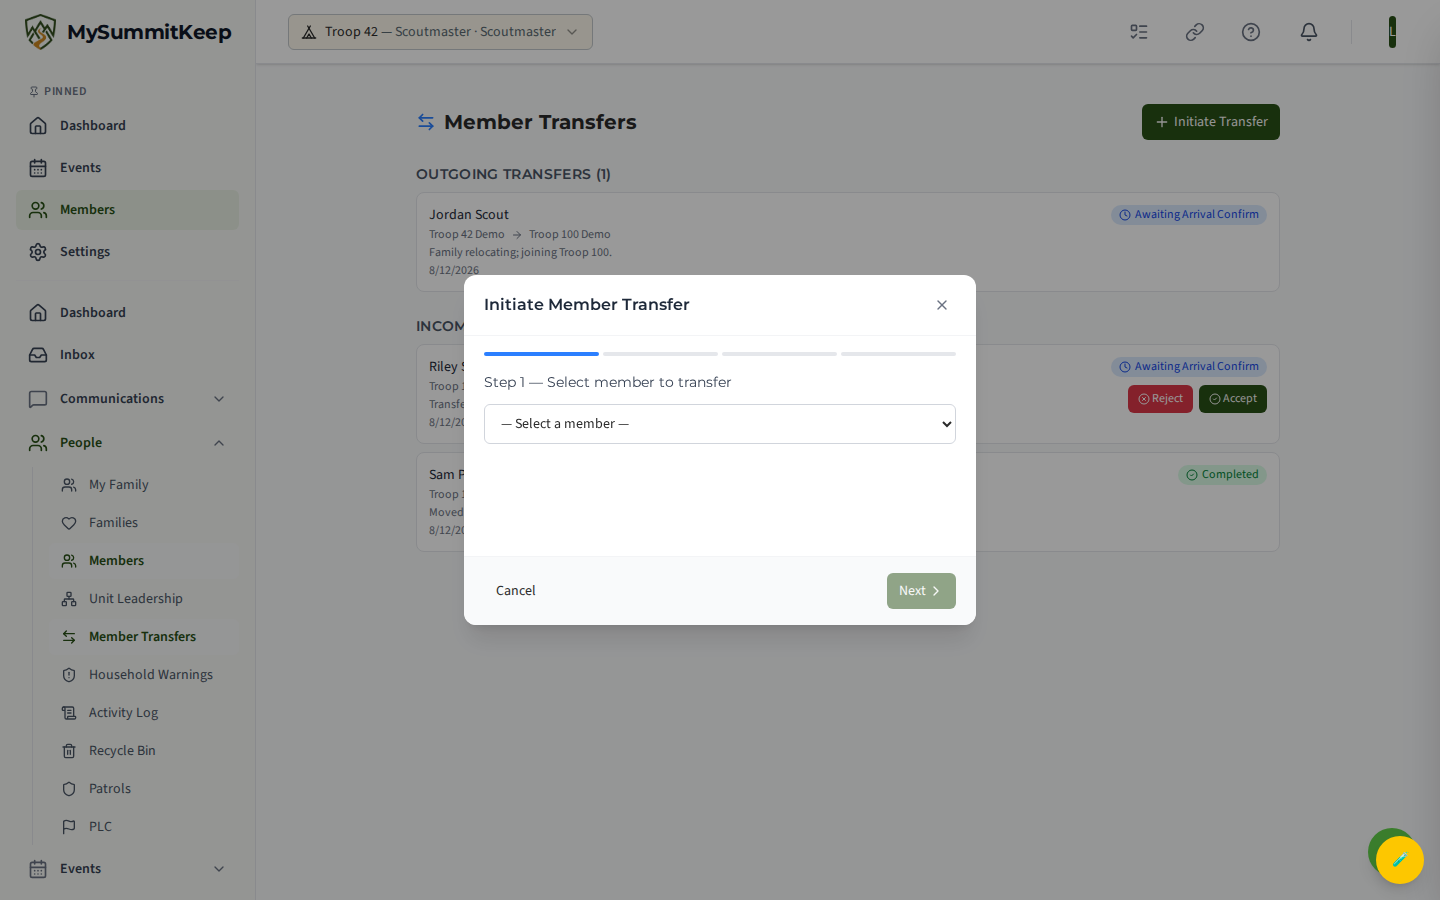
Section titled “Initiating a transfer (the transfer wizard)”From the Member Transfers page, click Initiate Transfer (top-right). A four-step wizard opens, titled Initiate Member Transfer:
- Select member to transfer — pick an active member of your current unit from the dropdown.
- Select destination unit — type at least two characters to search by unit name or number, then choose the receiving unit from the results.
- Reason (optional) — note why the member is moving (for example, family relocation or joining a sibling’s unit). This is visible to both units.
- Review & confirm — check the member, destination, and reason, then click Initiate Transfer.
Only an active member of your unit can be transferred, the destination must be a real unit, and you cannot transfer a member to the same unit they are already in. If an open request already exists for that member-to-that-unit pairing, the system blocks a duplicate.
Outgoing vs. incoming transfers
Section titled “Outgoing vs. incoming transfers”The Member Transfers page splits requests into two sections so you always know which side you are on:
- Outgoing Transfers — requests where your unit is the one letting the member go (the source/leaving unit).
- Incoming Transfers — requests where your unit is receiving the member (the destination unit).
Each row shows the member’s name, the from-unit → to-unit direction, the optional reason, the date, and a colored status badge. Accept and Reject buttons appear only on the row when it is your unit’s turn to act.
Departure confirmation (leaver)
Section titled “Departure confirmation (leaver)”When a transfer is initiated, it starts in Awaiting Departure Confirm. The leaving unit acts first.
On the Outgoing Transfers row, the source unit’s leader sees Accept and Reject:
- Accept releases the member and advances the request to Awaiting Arrival Confirm — now it is the receiving unit’s turn.
- Reject declines the move and stops the transfer.
Nothing changes on either roster yet. Departure confirmation simply hands the request to the receiving unit.
Arrival confirmation (receiver)
Section titled “Arrival confirmation (receiver)”Once the leaving unit has confirmed, the request appears as actionable in the receiving unit’s Incoming Transfers list at status Awaiting Arrival Confirm.
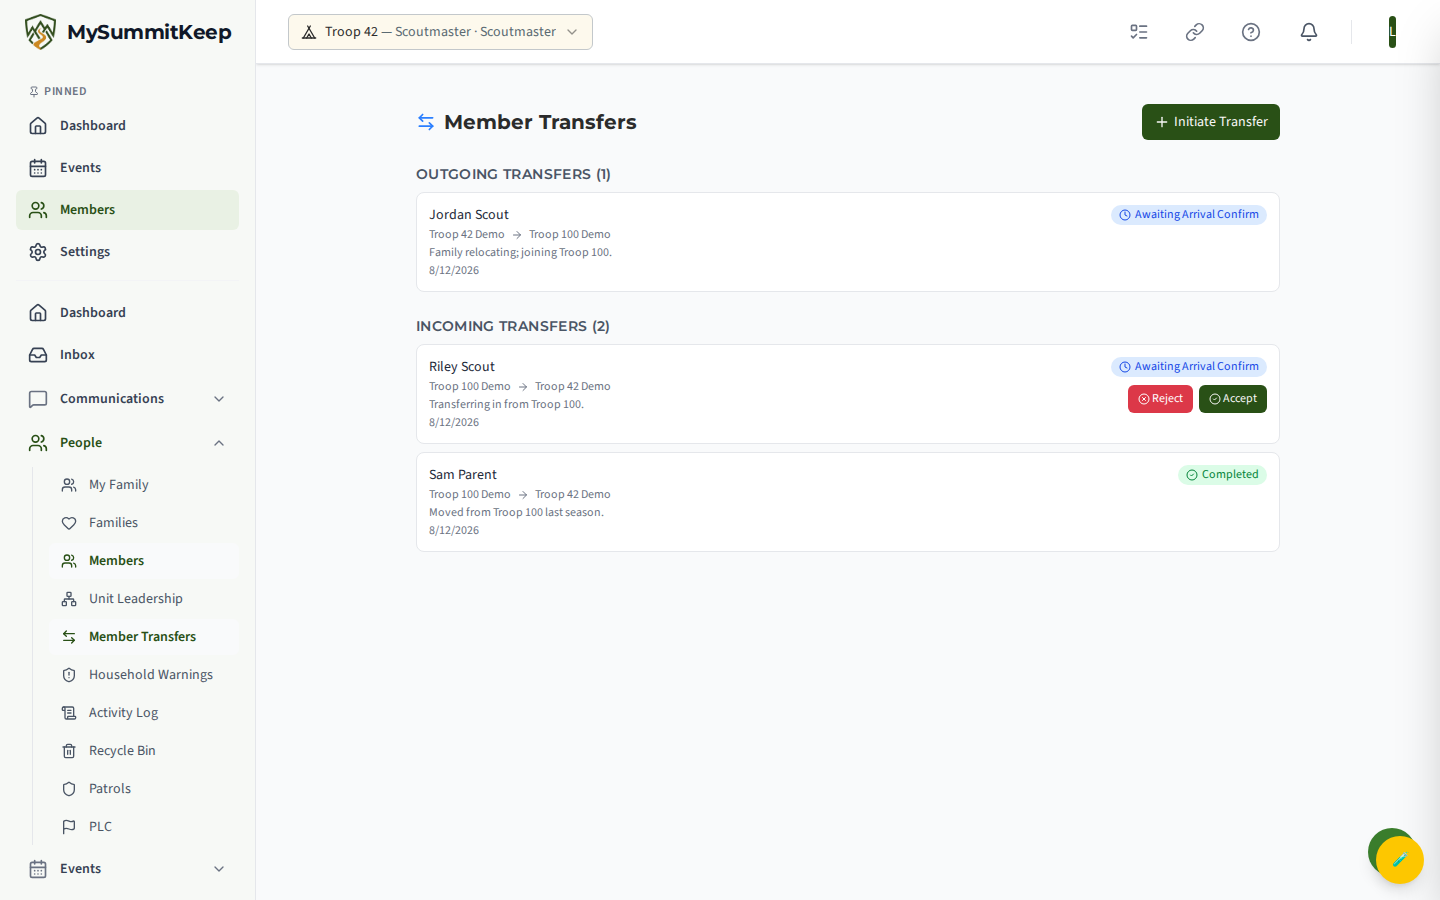
The receiving unit’s leader clicks Accept or Reject:
- Accept completes the transfer. The system adds the member to your unit’s roster as an active member (inheriting their prior role and member type), deactivates their membership in the old unit, and marks the request Completed.
- Reject declines the arrival and stops the transfer.
Transfer statuses explained
Section titled “Transfer statuses explained”Each request carries a status badge that tells you exactly where it is in the handoff:
| Status | Meaning |
|---|---|
| Awaiting Departure Confirm | The transfer was initiated; the leaving unit needs to confirm the member’s departure. |
| Awaiting Arrival Confirm | The leaving unit confirmed; the receiving unit needs to confirm the arrival. |
| Completed | The receiving unit accepted; the member is now active in the new unit and inactive in the old one. |
| Rejected | Either unit declined the transfer; no roster changes were made. |
| Cancelled | The request was withdrawn before completion. |
A rejected request shows the rejection reason (when one was given) on the row so the other unit understands why.
Rejecting and cancelling transfers
Section titled “Rejecting and cancelling transfers”Rejecting is done with the Reject button on whichever row is currently yours to act on — the source unit during departure confirmation, or the destination unit during arrival confirmation. Rejecting ends the transfer with no roster changes; the member remains in their original unit.
Because a rejected, completed, or cancelled request is considered closed, it no longer blocks a fresh attempt. If a transfer was rejected by mistake, simply initiate a new transfer from the wizard.
For everyday roster maintenance that does not involve another unit, see Managing Members and Member Import.