
Checklists
Checklists give your unit a single, shared place to track recurring tasks — packing for a campout, prepping a meeting, or running through an event setup. Each checklist has a list of items you can check off, with a live progress bar so everyone can see what’s done and what’s still outstanding. Open them from Checklists in the sidebar (/checklists).
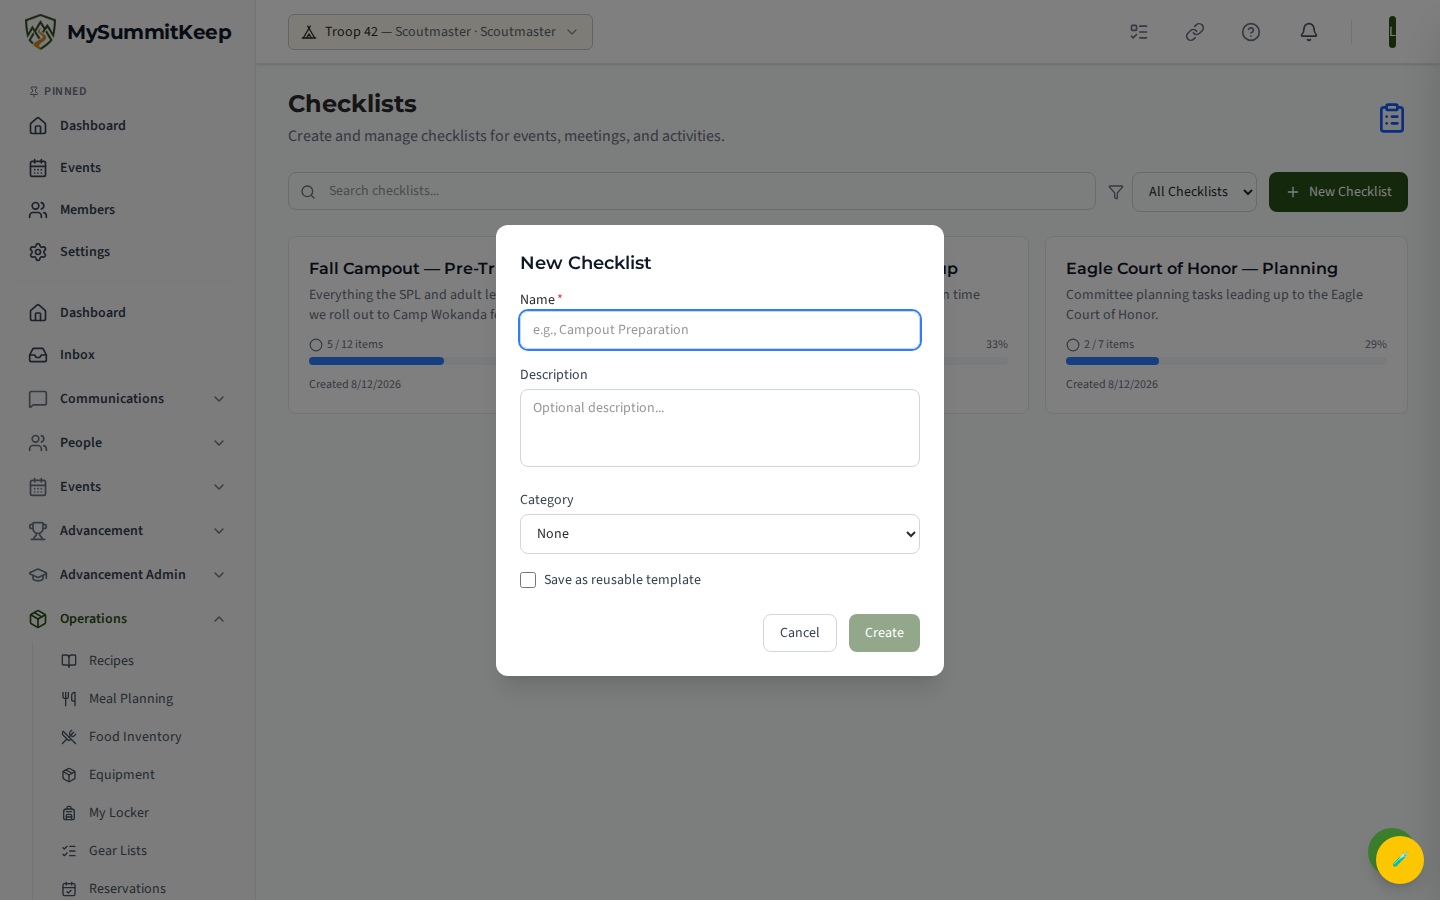
The list shows one card per checklist with its name, category, progress bar, and how many items are complete out of the total. Checklists saved as templates carry a purple Template badge. Use the Search checklists… box to find one by name or description, and the category dropdown (All Checklists, Event, Meeting, Campout, Activity) to narrow the list.
Creating a checklist
Section titled “Creating a checklist”Click New Checklist in the top-right to open the create form, then fill in:
- Name (required) — for example, “Campout Preparation” or “Weekly Meeting Setup.”
- Description (optional) — a short note about what the checklist covers.
- Category (optional) — choose Event, Meeting, Campout, or Activity, or leave it as None. The category drives the filter dropdown on the list page.
- Save as reusable template — tick this if you want the checklist to serve as a starting point you reuse later (see Using and managing templates below).
Click Create and you’ll land directly on the new checklist’s detail page, ready to add items.
Adding and editing items
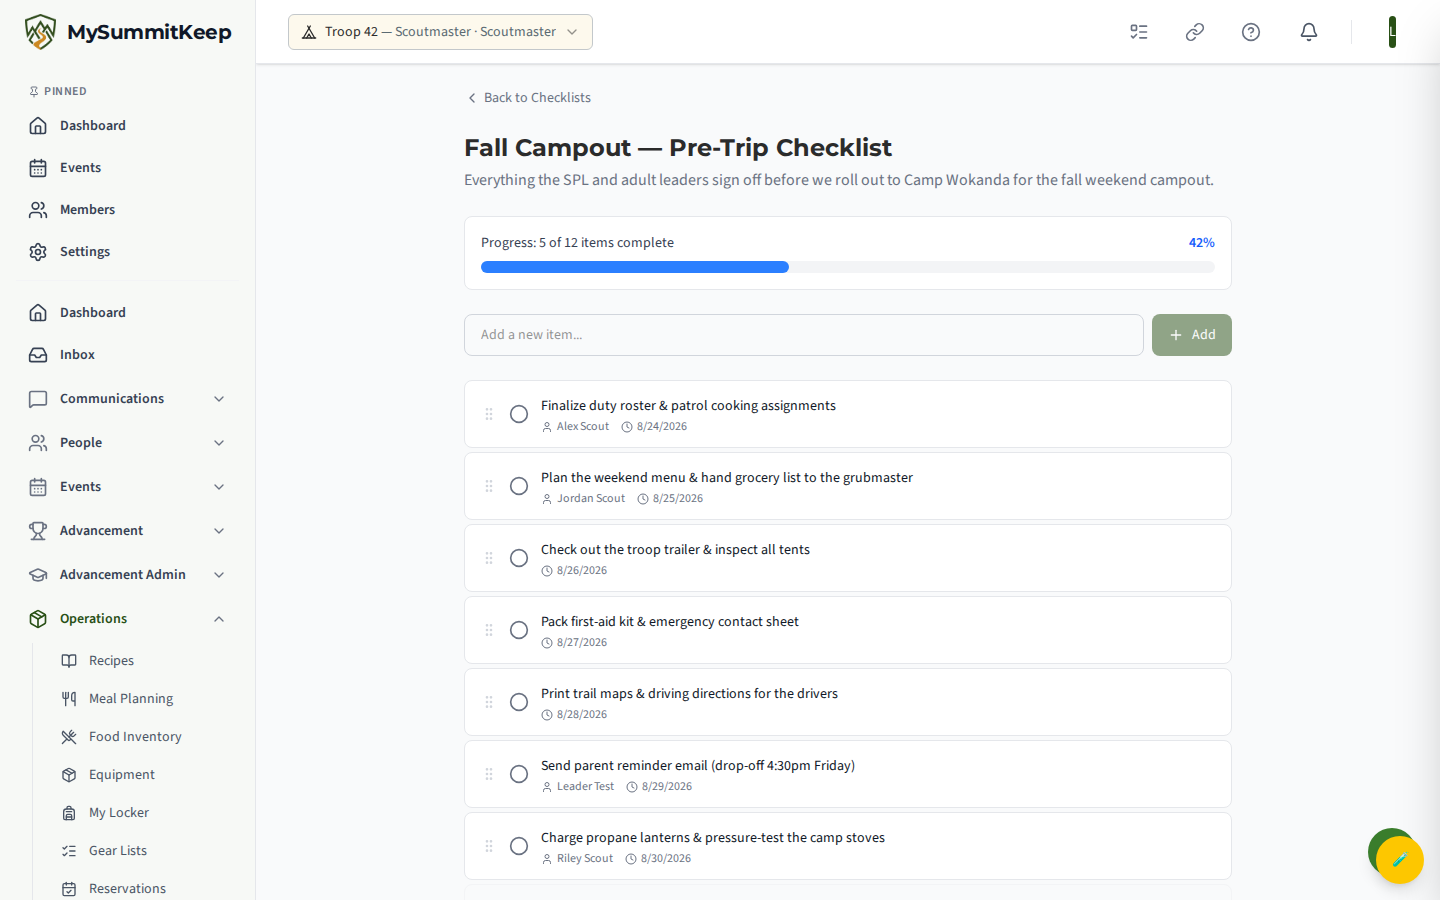
Section titled “Adding and editing items”On a checklist’s detail page (/checklists/:id), type a task into the Add a new item… field at the top and click Add (or press Enter). The item appears in the list immediately.
Each item row shows:
- A circle/check toggle to mark it complete.
- The item text.
- Optional details such as an assigned member, a due date, and who completed it.
Items sort with incomplete tasks first, so the work that’s still outstanding always rises to the top. The progress bar and the “X of Y items complete” count update as you add and check off items.
Toggling items complete
Section titled “Toggling items complete”Click the circle to the left of an item to mark it complete — it turns into a green check and the item text gets a strike-through. Click the check again to reopen the task. The progress bar fills as you go and turns green when the checklist hits 100%.
Using and managing templates
Section titled “Using and managing templates”Templates let you reuse a proven list instead of rebuilding it every season. To make one, check Save as reusable template when you create a checklist (or create a checklist named, for example, “Campout Prep — Template” and mark it as a template). Templates appear in the list with a purple Template badge so they’re easy to spot.
A good template captures the steps that repeat every time — for a campout that might be permission slips, the duty roster, the menu plan, the gear list, and the Health Forms check. Build it once, then each trip you have a ready-made starting point.
Deleting checklists
Section titled “Deleting checklists”To remove a single item, hover over its row and click the trash icon on the right. The button turns red and asks you to Click again to confirm deletion — click it a second time to delete. If you wait about three seconds without confirming, the delete cancels automatically, so an accidental tap won’t lose anything.
To stop using an entire checklist, leave it in place once its tasks are done — completed checklists stay in the list as a record of what was finished. If you need a checklist fully removed, ask a unit administrator; whole-checklist removal isn’t exposed on the current Checklists screens.
For related task and roster tooling, see Activity Plans and the Member Directory.